

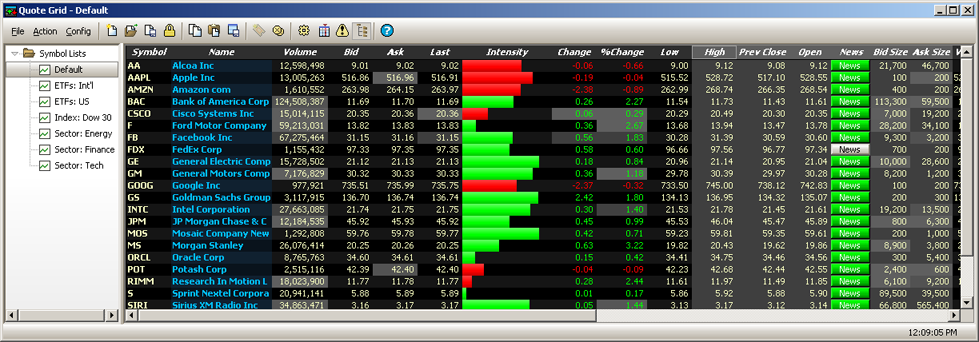
The Quote Grid allows you to view real-time streaming quotes for equities, options, and futures.
A valid market data login is required along with default quote services. For more information about setting up Quote Services click here.
From the WTP toolbar, select Analyze-->Quote Grid.
Alternate Method:
From the WTP menu select Quote Grid.
To launch the Configuration window
Press the
configuration button ![]() .
.
Alternate Methods:
Right-click
anywhere in the grid and select Configuration.
From the Config menu select Configuration.
In the Available Columns portion of the Configure Quote Grid window are the list of available columns that can be placed in the Quote Grid.
Add available columns to the Quote Grid:
Click on
the + character next to Quote Fields, Quote Grid Fields,
or User Defined Fields to reveal the available columns
under each heading.
Double click on a field name to place it on the Quote Grid or click once on a field name and click the right arrow.
The field name will be placed in the Visible Columns portion of the Configuration widow (and in the Quote Grid if selections are saved).
Remove columns from the Quote Grid:
Select any
column name in the Visible Columns portion of the Configuration
window.
Click the left arrow to remove the column name.
If the Fit All Columns to Window box is checked, the columns will be equally spaced to the width of the Quote Grid window.
Click here for instructions on setting Row Color Conditions.
Multiple Conditions
You may have multiple conditions for the same symbol.
For example, a row color condition can be set for the same expression as one that has been previously defined yet display a different color for a condition or target value that differs from the first configuration.
Also, the same security can have different expressions.
Select ALL Securities for Row Color Conditions
To select all securities for a row color condition, click your mouse in the Security field. Press the down arrow and choose <ALL>.
Alert Priority
Choose a
priority (Low, Medium, High, Off) for the alert.
Click
on the Global Configuration button ![]() to select
a sound (in the form of a .wav file). The Global Configuration
window will display. The Notifications tab will be selected.
to select
a sound (in the form of a .wav file). The Global Configuration
window will display. The Notifications tab will be selected.
Select
the row corresponding to the Alert Condition defined in Step #1.
From
the drop-down list, select a .wav sound that will play
when the row condition has been met. To select a .wav file
not in the drop-down list, click Browse and select a file
from your system.
Click
OK to accept your selections and close the window, or Apply
to accept your selections and keep the window open, or Cancel
to close the window without saving your selections.
Note: Log Severity reporting can also be defined from
this window. See the Global
Configuration Help page for more information on Log Severity
reporting.
When a cell is updated, it gets highlighted and eventually fades from the highlight color to the background color. Highlight Period specifies the length of time until the fade out completes.
A Symbol List is the user-defined list of symbols that are being viewed in a Quote Grid. For example: A Symbol List called DOW might contained only those symbols related to DOW industrials.
Display the symbols in a Symbol List in the Quote Grid
Click on a Symbol List name. Symbol Lists are displayed on the left side of the Quote Grid. Only one Symbol List at a time can be seen in the Quote Grid.
Create and Save a Symbol List
Click the
File menu. Select New Symbol List. By default this
list is called "New Symbol List."
Alternate method:
Right-click anywhere in the Quote Grid. Select File Commands
--> New Symbol List.
In the Symbol
column of the Quote Grid, either type in a symbol or select one
from the drop-down list.
Continue
adding symbols as required.
To save
the Symbol list as a file on your computer, click the File
menu and select Save Symbol List. Choose a name for the
Symbol List and the appropriate directory to store it.
Alternate methods:
Select the Save
Symbol List button 
Right-click anywhere in the Quote Grid. Select File Commands --> Save Symbol List.
Remove a Symbol List
Click on the Symbol List name with right mouse button and choose Remove.
Load a Saved Symbol List
In the Quote Grid select File Commands --> Open Symbol List. Double-click on a Symbol List file (designated with a .bsm extension).
You can display your Symbol Lists with Show Select View option. The Quote Grid's default view displays the Symbol Lists.
To display (or remove) Symbol Lists, right-click on the Quote Grid. Select Show Select View.
An ALERT column can be added to the Quote Grid. When activated, the Alert column will display the button Alert next to each symbol on the Quote Grid.
The Alert
button will change colors that reflect the status of the button's
underlying settings. The display colors of the Alert button are:
green—The Alert button is active
yellow—The Alert button is inactive
red—The criteria for the Alert button
has been met
The Enable check box
column (next to the Alert button) turns the Alert for the its row
on and off.
See Set Row Color Conditions for instructions in using the configuration window. Unique in the configuration widow for Alert Columns is the Aggregate check box, that causes an alert to be raised only when all conditions are satisfied. If unchecked, an alert is raised when any condition is satisfied.
Columns in the Quote Grid can be arranged in any desired order.
To rearrange columns in the Quote Grid:
Click on
the column head of the column that is to be moved.
With the left mouse button depressed, move the mouse left or right and position the column accordingly.
To view a column's data in either flush left, right, or center:
Right-click
on a column head.
Choose Left Justify, Right Justify or Center Justify.
The data in the column will be formatted to match the selection.
The data in any column can be sorted either ascending or descending. Additionally, a real time sort can be configured.
Sort data ascending or descending:
Double click
on the column head of the column to be sorted OR right-click
on the column head.
Double click
on the column again to reverse the view (either ascending or descending),
OR right-click and select either Sort Ascending
or Sort Descending or Real Time Sorting.
Real Time Sorting can be detrimental to performance when large
or rapidly updating data sets are in use.
Similar
to a spreadsheet program, the data in a column can be acted upon to
display the total of all symbols, the average value
of all symbols, or the median value.
View Column Totals
Select a
column by clicking on its column header.
Right-click and select Show Total (the sum of column data), Show Average (the average value of column data), or Show Median (the middle-most value of the column data).
The result of Step #2 will be displayed on the Quote Grid below the selected column.
The data contained in the Quote Grid can be exported:
As a
file
To the
clipboard
To a Microsoft Excel spreadsheet
Export Grid Data:
Right-click
anywhere in the body of the Quote Grid.
Select Export
Grid Data.
Select a
destination for the exported data.
Export to File—Enter a path and filename for the exported file.
Copy to Clipboard—Select this and the data will be available
in clipboard.
Export to Microsoft Excel—Select this and Excel will open and
the Quote Grid data will be loaded.
Select the
data to export:
Selected Range vs. Entire Grid—Selected Range refers
to an area highlighted by the mouse. Entire Grid refers to all
rows and columns of the Quote Grid.
Include Column Titles—Check this box if the grid's Column Titles
should be exported.
Include Row Numbers—Row numbers will be a part of the exported
file if this option is checked.
An option
to Strip Commas from Numeric Fields and a Field Delimiter
selection becomes available if Export to File or Copy
to Clipboard has been selected.
To remove the commas from fields with numbers, check this box.
Select either Comma, Space, or Tab to identify the
delimiter that will be used between fields.
Click OK.
Send Quote Grid data to Other WTP Applets
The data in the Quote Grid can be sent to these WTP applets:
Order Grid, Equity Quote Cube, Option Quote Cube, Equity Time and Sales, Option Time and Sales, Managed Orders, Position Grid, and News Browser.
Send the data in the Quote Grid
Right-click
on a row in the Quote Grid corresponding to the symbol you wish
to send.
Select Send to --> and the name of the applet.
The selected applet will open.
Place an Order from the Quote Grid
To bring up the Order Ticket and place an order, click your mouse on a row of the symbol you wish to trade. Then:
Double
click anywhere on the row containing the symbol.
Alternate Methods:
Type
Ctrl +n.
Right-click the mouse button and select New Order.
Cancel Orders from the Quote Grid
Orders can be selectively or collectively canceled from the Quote Grid.
Selectively cancel an Order from the Quote Grid
Click on
the row that has an open order.
Type Ctrl
+z or right-click and select Cxl
Orders for Symbol: (symbol name).
Cancel all orders from the Quote Grid
Right-click
anywhere in the Quote Grid.
Select Cancel All Orders.
Columns specific to Options trading can be displayed in the Quote Grid.
Show Options Columns
Select the Options Columns button
 .
.
Alternate Methods:
Right-click
in the Quote Grid and select Show Options Columns.
From the Config menu select Show Options Columns.
The Quote Grid can be placed in read-only (locked) mode. This prevents accidental input to the grid.
Lock the Quote Grid
Press the Read Only Mode icon ![]() .
.
Alternate Methods:
Right-click
anywhere in the Quote Grid and select File Commands -->
Read Only Mode.
From the File menu, select Read Only Mode.
Unlock the Quote Grid by repeating one of the methods above.
![]()
© 2015 Wolverine Execution Services, LLC